In an effort to do more fun side projects, I've been learning Rust, a wonderful systems programming language developed by the Mozilla Foundation. It's been a while since I've touched a compiled language as my day-to-day often deals with Python and Javascript variants. I was inspired after seeing a lot of interesting articles about Rust usage and decided to dive into learning Rust by creating a very basic 2D game, inspired by the classic Defender arcade game.
Note that to keep things relatively concise this blog post walks through the major portions of the codebase but does skip over some of the implementation details. If you're interested in walking through the code yourself, the final result of this blog post is available on here on Github.
And finally, if you're interested in jumping into Rust for yourself, here are some resources I found immensely useful:
- “The Rust Programming Language” Book (2nd Edition)
- Rust Subreddit.
- Rust web playground.
Getting Started
Alright, let's get down to business!
First off, I opted to use a framework geared towards game development rather than build a lot of things from scratch and to abstract a lot of the OS level windowing and input handling. There is a couple out there that have varying degrees of bells and whistles and in the end I opted to use Piston which is being actively developed, has some basic documentation, and has a modular architecture in case I want to use more advance features later on.
I began with the Piston "Getting Started" example and made
some modifications to move much of the game logic to lib.rs.
Below is the modified main.rs file where all we do is configure the
window and start the event loop.
1 fn main() {
2 // Original Defenders had a resolution of 320x256
3 let mut app = App::new(GraphicsConfig::new("Defender", 960, 768));
4
5 // Poll for events from the window.
6 let mut events = Events::new(EventSettings::new());
7 while let Some(e) = events.next(&mut app.window.settings) {
8 // Handle rendering
9 if let Some(r) = e.render_args() {
10 app.render(&r);
11 }
12 // Handle any updates
13 if let Some(u) = e.update_args() {
14 app.update(&u);
15 }
16 }
17 }
Note: There is an App struct that is not present in the "Getting
Started" example where I move useful game state, such as the square
position (x,y) and rotation.
While in lib.rs we have the basic render and update loops to blank out
the screen, draw a red square, and then rotate it as seen below.
1 // Handle rendering any objects on screen.
2 pub fn render(&mut self, args: &RenderArgs) {
3 // Get the location of the "player" we want to render.
4 let rotation = self.rotation;
5 let x = self.x;
6 let y = self.y;
7
8 // Create a little square and render it on screen.
9 let square = rectangle::square(0.0, 0.0, 50.0);
10 self.window.gl.draw(args.viewport(), |c, gl| {
11 // Clear the screen.
12 clear(BLACK, gl);
13 // Place object on screen
14 let transform = c.transform.trans(x, y)
15 // Handle any rotation
16 .rot_rad(rotation)
17 // Center object on coordinate.
18 .trans(-25.0, -25.0);
19 // Draw a box rotating around the middle of the screen.
20 rectangle(RED, square, transform, gl);
21 });
22 }
23
24 // Update any animation, etc.
25 pub fn update(&mut self, args: &UpdateArgs) {
26 // Rotate 2 radians per second.
27 self.rotation += 2.0 * args.dt;
28 }
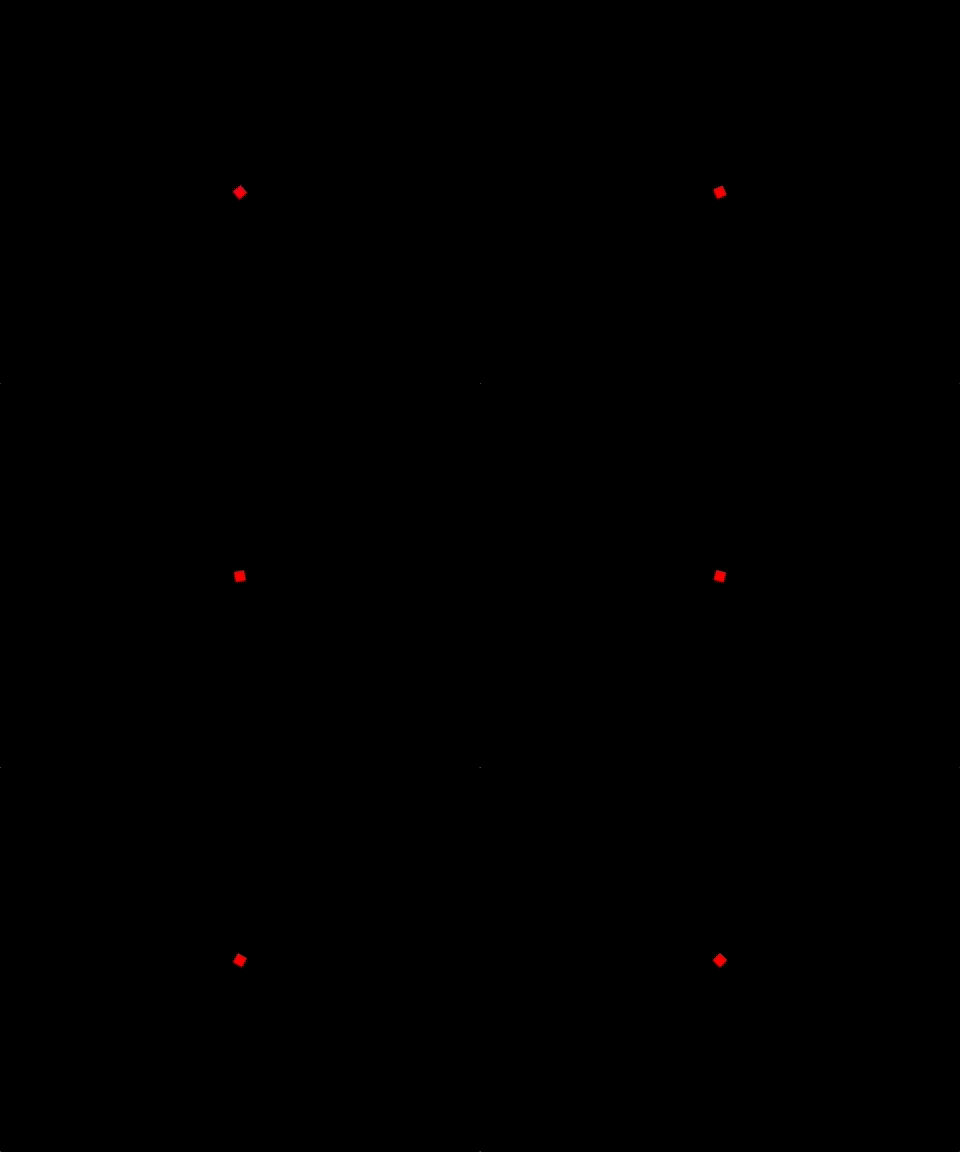
Lets cargo run to build and run the project and see what we get! If
you're following along, you should a nice black screen with a rotating red
square in the middle.

With the basic rendering and animation functionality set up, I moved onto capturing input from the keyboard and translating that to movement on screen.
Getting Input
Piston's event loop makes it incredibly easy to poll for input events. In the game, we're interested in keyboard presses that would lead to our space ship moving around or firing a projectile at the enemy while everything else we can safely ignore. I modified the event loop from the Piston example to listen for and process keyboard events as we see below:
1 pub fn input(&mut self, button: &Button) {
2 if let Button::Keyboard(key) = *button {
3 match key {
4 // For simplicity's sake we directly
5 // modify the player struct here.
6 Key::Up => self.player.y -= UNIT_MOVE,
7 Key::Down => self.player.y += UNIT_MOVE,
8 Key::Left => self.player.x -= UNIT_MOVE,
9 Key::Right => self.player.x += UNIT_MOVE,
10 Key::Space => (), // Fire bullets!
11 _ => (), // Ignore all other
12 }
13 }
14 }
Note: In the final code, this input loop is a little more complicated since I listen for events on button press and release, but the concept stays the same.
Rendering Enemies & Other Objects
As we render more and more objects on screen, I thought it best to
standardize some of the functionality we want to exist in each drawable
object. This also happened to be a great place to start playing around with
Rust traits! Below we have a basic GameObject trait stating
that every object which implements that trait must have a render function
and optionally an update function.
1 // Every object that needs to be rendered on screen.
2 pub trait GameObject {
3 fn render(&self, ctxt: &Context, gl: &mut GlGraphics);
4 fn update(&mut self, _: f64) {
5 // By default do nothing in the update function
6 }
7 }
+++
What are traits?
Traits in Rust allow us to abstract shared behavior that different types
may have in common. For instance, rather then make a single struct with all
attributes that may or may not be used when representing the Player and
Enemy objects, we can extract these attributes out into their own structs
and only implement the shared behavior amongst each object as a trait. For example,
from the Rust standard library things such as how to display an object as a
string are implemented as traits.
Traits also simplifies the logic that occurs in the shared behavior. For
instance, in our non-trait example perhaps we want to render enemies in a
certain way and must check a flag to see if the object is an enemy or not.
Traits eliminates this, allowing us to have separate render logic for the
enemy while still having compile time checks for types that are expected to
have this trait.
+++
With this GameObject trait, we can move the render and update logic
for the player into models/player.rs. This simplifies the main render and
update loop in lib.rs and sets the stage for future drawable objects such
as enemies, bullets, and other things.
1 impl GameObject for Player {
2 fn render(&self, ctxt: &Context, gl: &mut GlGraphics) {
3 // Render the player as a little square
4 let square = rectangle::square(0.0, 0.0, self.size);
5 // Set the x/y coordinate for "spaceship"
6 let transform = ctxt.transform.trans(self.x, self.y)
7 // Draw the player on screen.
8 rectangle(color::RED, square, transform, gl);
9 }
10
11 fn update(&mut self, dt: f64) {
12 // Handle updates here. Adjusting animation/movement/etc.
13 }
14 }
If you're interested in seeing how enemies and bullets are rendered and
animated, check out the models/enemy.rs and models/bullet.rs. At the
time of writing, enemies are completely harmless and only move in random
directions. Bullets are a little more complicated as they have a lifetime
value that determines when we remove them from screen.
Handling Collisions
At this point, we should be able to render any sort of object on screen. If
the objective of the game is for the player to clear the screen of enemies
using bullets, we'll need to detect whether a bullet has in fact collided
with an enemy and handle that event accordingly. I added some additional
functions to the GameObject trait to handle all of this logic. In the
end, the only thing each object on screen needs to know is its current
position and the radius of its bounding circle.
Below is the snippet from the GameObject trait that handles collision
detection:
1 fn collides(&self, other: &GameObject) -> bool {
2 // Two circles intersect if the distance between their centers is
3 // between the sum and the difference of their radii.
4 let x2 = self.position().x - other.position().x;
5 let y2 = self.position().y - other.position().y;
6 let sum = x2.powf(2.0) + y2.powf(2.0);
7
8 let r_start = self.radius() - other.radius();
9 let r_end = self.radius() + other.radius();
10
11 return r_start.powf(2.0) <= sum && sum <= r_end.powf(2.0);
12 }
13
14 // Use to determine position of the object
15 fn position(&self) -> &Position;
16 fn radius(&self) -> f64;
To run the actual collision check, we loop through each bullet and enemy during the update loop and check to see if they've collided. If so, we remove both from the screen and update our score.
1 for bullet in self.bullets.iter_mut() {
2 // Did bullet collide with any enemies
3 for enemy in self.enemies.iter_mut() {
4 if bullet.collides(enemy) {
5 // Setting the bullet ttl will remove it from screen.
6 bullet.ttl = 0.0;
7 // Setting the enemy health to 0 will remove it from screen.
8 enemy.health = 0;
9 // Keep track of kills
10 self.score += 10;
11 }
12 }
13 }
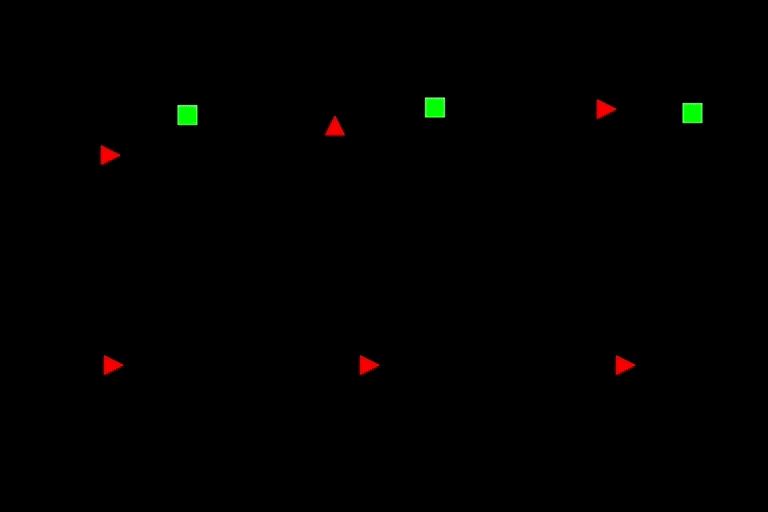
And there it is in action!

All that's missing are explosions and bits of green square scattered across the screen.
Keeping Score & End Game
In the previous section, you'll notice that every time a player hits an enemy square, we update the score. Currently there is no way for the player to know what score they have and no way for the game to end. Let's render the score on screen and handle an end-game status.
Rendering text ended up taking a huge chunk of my time to figure out.
Mostly because some of the documentation and example projects using text
render code were out of date. In the end, I was able to dive into the
source code for the piston2d-opengl_graphics library to figure out the
exact incantation. In the end, it was a simple two lines of code to load
the font we want and use it to render the score.
First and foremost, we need to load the font we want to use. I chose a fantastic old school IBM font to really accentuate the nostalgic look.
1 let glyph_cache = GlyphCache::new(
2 "./assets/fonts/PxPlus_IBM_VGA8.ttf",
3 (),
4 TextureSettings::new()
5 ).expect("Unable to load font");
And finally in our render loop, draw the current score on screen.
1 text::Text::new_color(::color::WHITE, 16)
2 .draw(
3 format!("Score: {}", score).as_str(),
4 glyph_cache,
5 &DrawState::default(),
6 c.transform.trans(0.0, 16.0),
7 gl
8 ).unwrap();
Note: In the final code, I created some utility functions to help render the
text. You can find these in gfx/utils.rs
To detect end game states, I add a GameStatus enum with different states
and check for the appropriate status at the start of the render and update
loops. For example, in the snippet below we check that we've reached either
a GameStatus::Died or GameStatus::Win and render the appropriate
message to show the user.
1 let viewport = [size.width as f64, size.height as f64];
2 match state.game_status {
3 GameStatus::Died => {
4 draw_center("YOU DIED!", 32, viewport, gc, &c, gl);
5 return;
6 },
7 GameStatus::Win => {
8 draw_center("YOU WIN!", 32, viewport, gc, &c, gl);
9 return;
10 },
11 _ => (),
12 }
Final Result
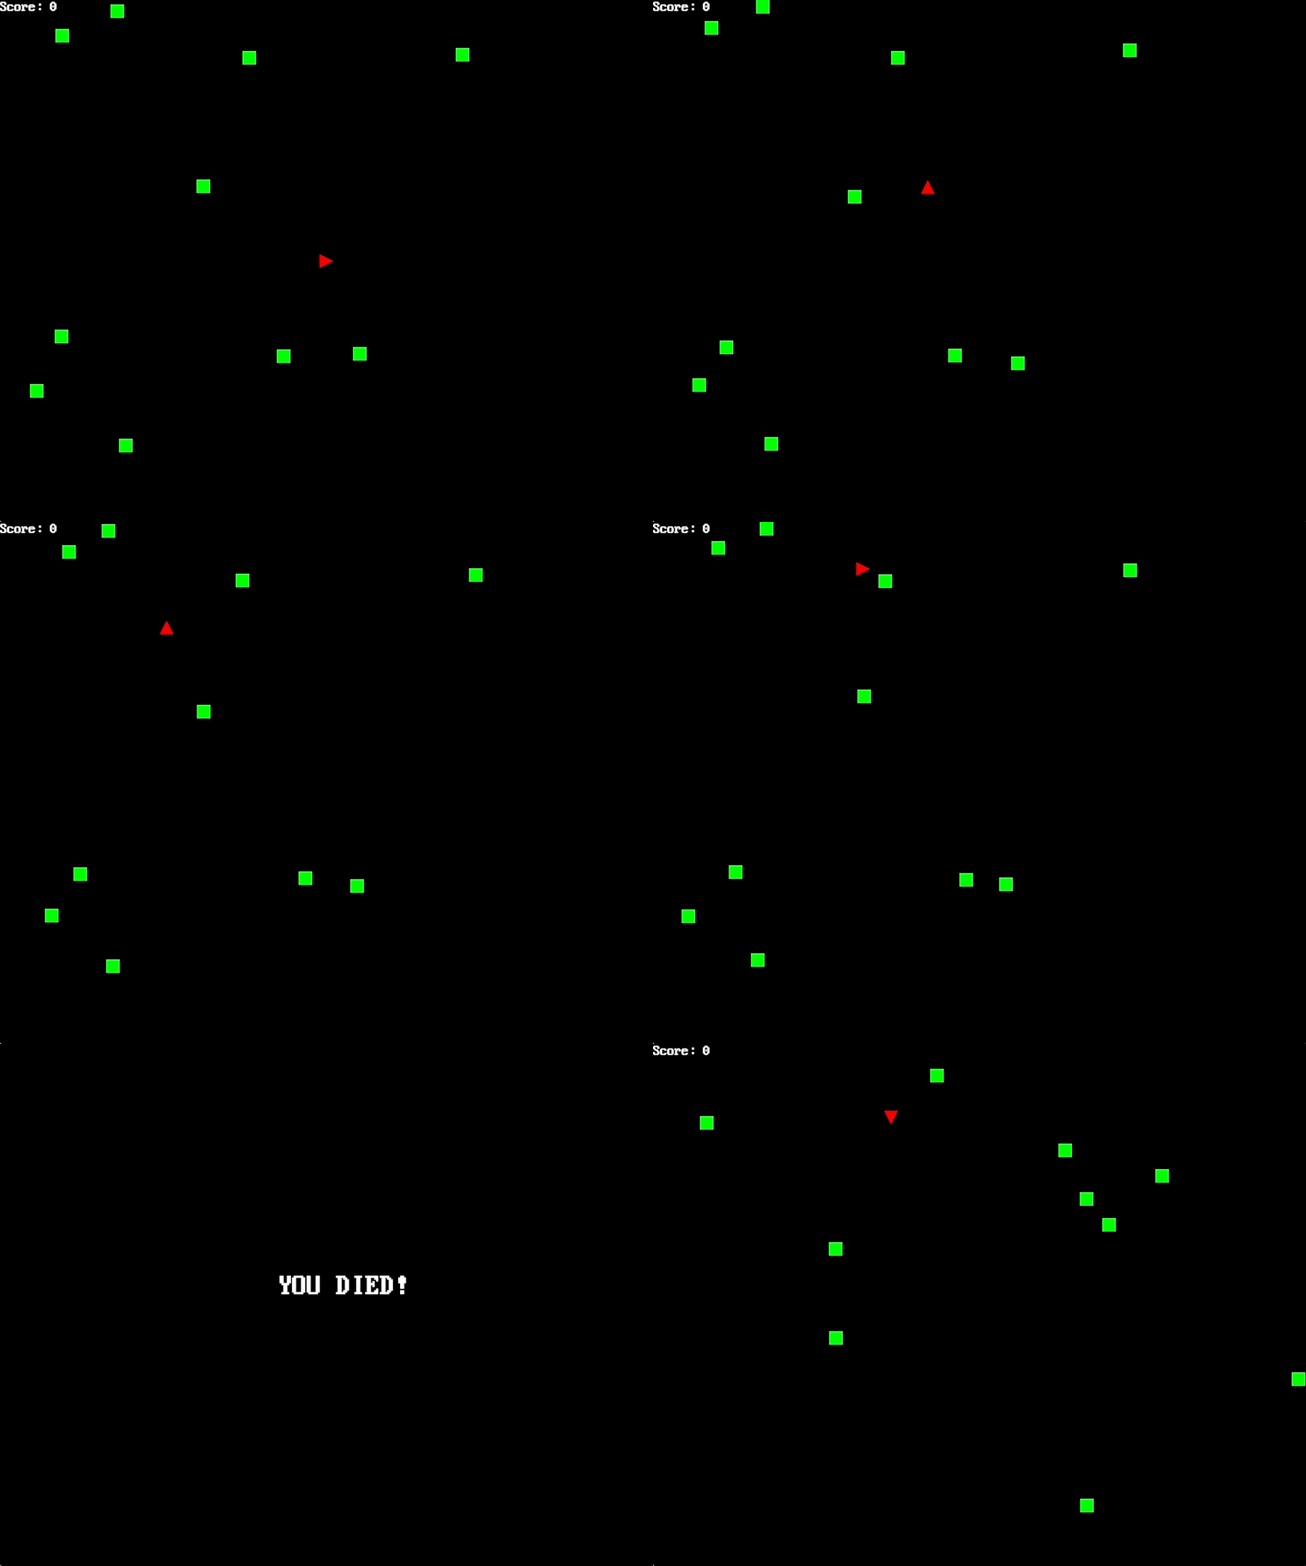
Finally, here is the final result!

Running into enemies will insta-kill the player and shooting down the harmless wiggly green squares leads to winning the game. While a far cry from the Defender arcade game, we have all the workings of a basic 2d game that I set out to build as an excuse to deep dive into Rust.
Appendix: Notes & Learnings
Since this was my first dive into a full project in Rust, I took notes on what worked and what didn't work throughout the entire dev process.
- Rust is familiar but different (in a good way).
It's been a while since I've thought about pointers and references, heap allocation vs. stack allocation, and even types but jumping into Rust felt really good. It brings a lot of familiar syntax from C-based languages (such as structs, references, and pointers) while also introducing a lot of compelling new functionality such as closures, traits, and lifetimes.
- Cargo is an excellent tool.
Cargo is Rust's package manager that is a sort of mixture between traditionally package managers and a Makefile. Cargo can handle dependencies while also building and running your code as well. There is also a flourishing community of third-party subcommands that do everything from watching for changes and auto-building to auditing for security vulnerabilities.
- Rust game dev is still nascent.
While Piston made a lot of things straightforward to use, the framework is not 100% stable quite yet. There's still plenty of development going on that may create breaking changes from version to version. However, it's exciting to get up and running as quickly as I could in a scripting language such as Python.
Edited (2018-02-08): Added missing links in appendix.


